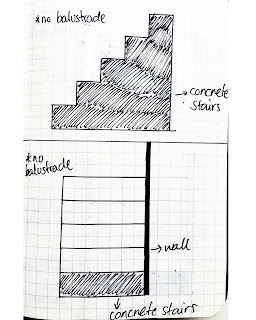
1. Using the scheme you developed in SketchUp (and inspired by the stairs shown in the lecture) design two sets of stairs; one that goes from the above ground studio down to the showroom space and a second that comes from the below ground studio up to the showroom space.
2. Represent each stair with at least 2 sections. Keep all the notes, details and sections relating to each stair on one pair of facing pages. Or on two screens if you are using an iPhone, iPad or similar device.
Stairs to the top level workshop.
Stairs to the below ground workshop.
2. Represent each stair with at least 2 sections. Keep all the notes, details and sections relating to each stair on one pair of facing pages. Or on two screens if you are using an iPhone, iPad or similar device.
Stair 1
Stair 2
Stair 3
Stair 4
Stair 5
3. In consultation with your tutor take another one of the sections created in the first studio session and design two sets of stairs for that scheme. Represent each of these new stairs with at least 2 sections.
Stair 1
Stair 2
4. Develop the section chosen in step 3 above in 3 dimensions using SketchUp. Include the stairs you designed in todays studio session in the model.
Stairs to the top level workshop.
Stairs to the below ground workshop.
5. Try importing some 2d people into your scheme from the SketchUp 3d Warehouse, these will confirm the scale of the Architecture you are proposing.
6. Save two images from your second SketchUp model (make sure the images show the stair well) and upload them, along with the page from your sketchbook that you based it on and the pages showing your stair sections, to your blog. Include the two words that the architecture responds to (from your week one sections) as a caption to the images and describe your material selection.
Stair 1
Stair 2
Both stairs together
Stairs down to below ground workshop
Stairs up to above ground workshop


