Saturday, 7 May 2016

Blog - Week 9 (Project 3)

Divide the pages of your notebook in half. Draw a horizon line in the upper and lower halves. Use a single screen if using an iPhone or iPad or similar. Draw a series of 6 one point perspectives exploring adjustments to the proportions of the six legs you imagined in step 2. Think about the legs themselves, the spaces in between them and the Squarehouse, and between them and buildings they pass by or intersect with. The proportions of the legs should be different in each of your 6 drawings. Use carefully hatched lines to highlight one set of surfaces that exist in parallel planes. For each of the 6 drawings above draw 2 more perspectives. The supplementary perspectives will show the 3d-Cross from a different point of view (e.g. above you, at eye level, below you). Use carefully hatched lines to highlight one set of surfaces that exist in parallel planes.

One Point Drawing 1.  Looking down on prisms.

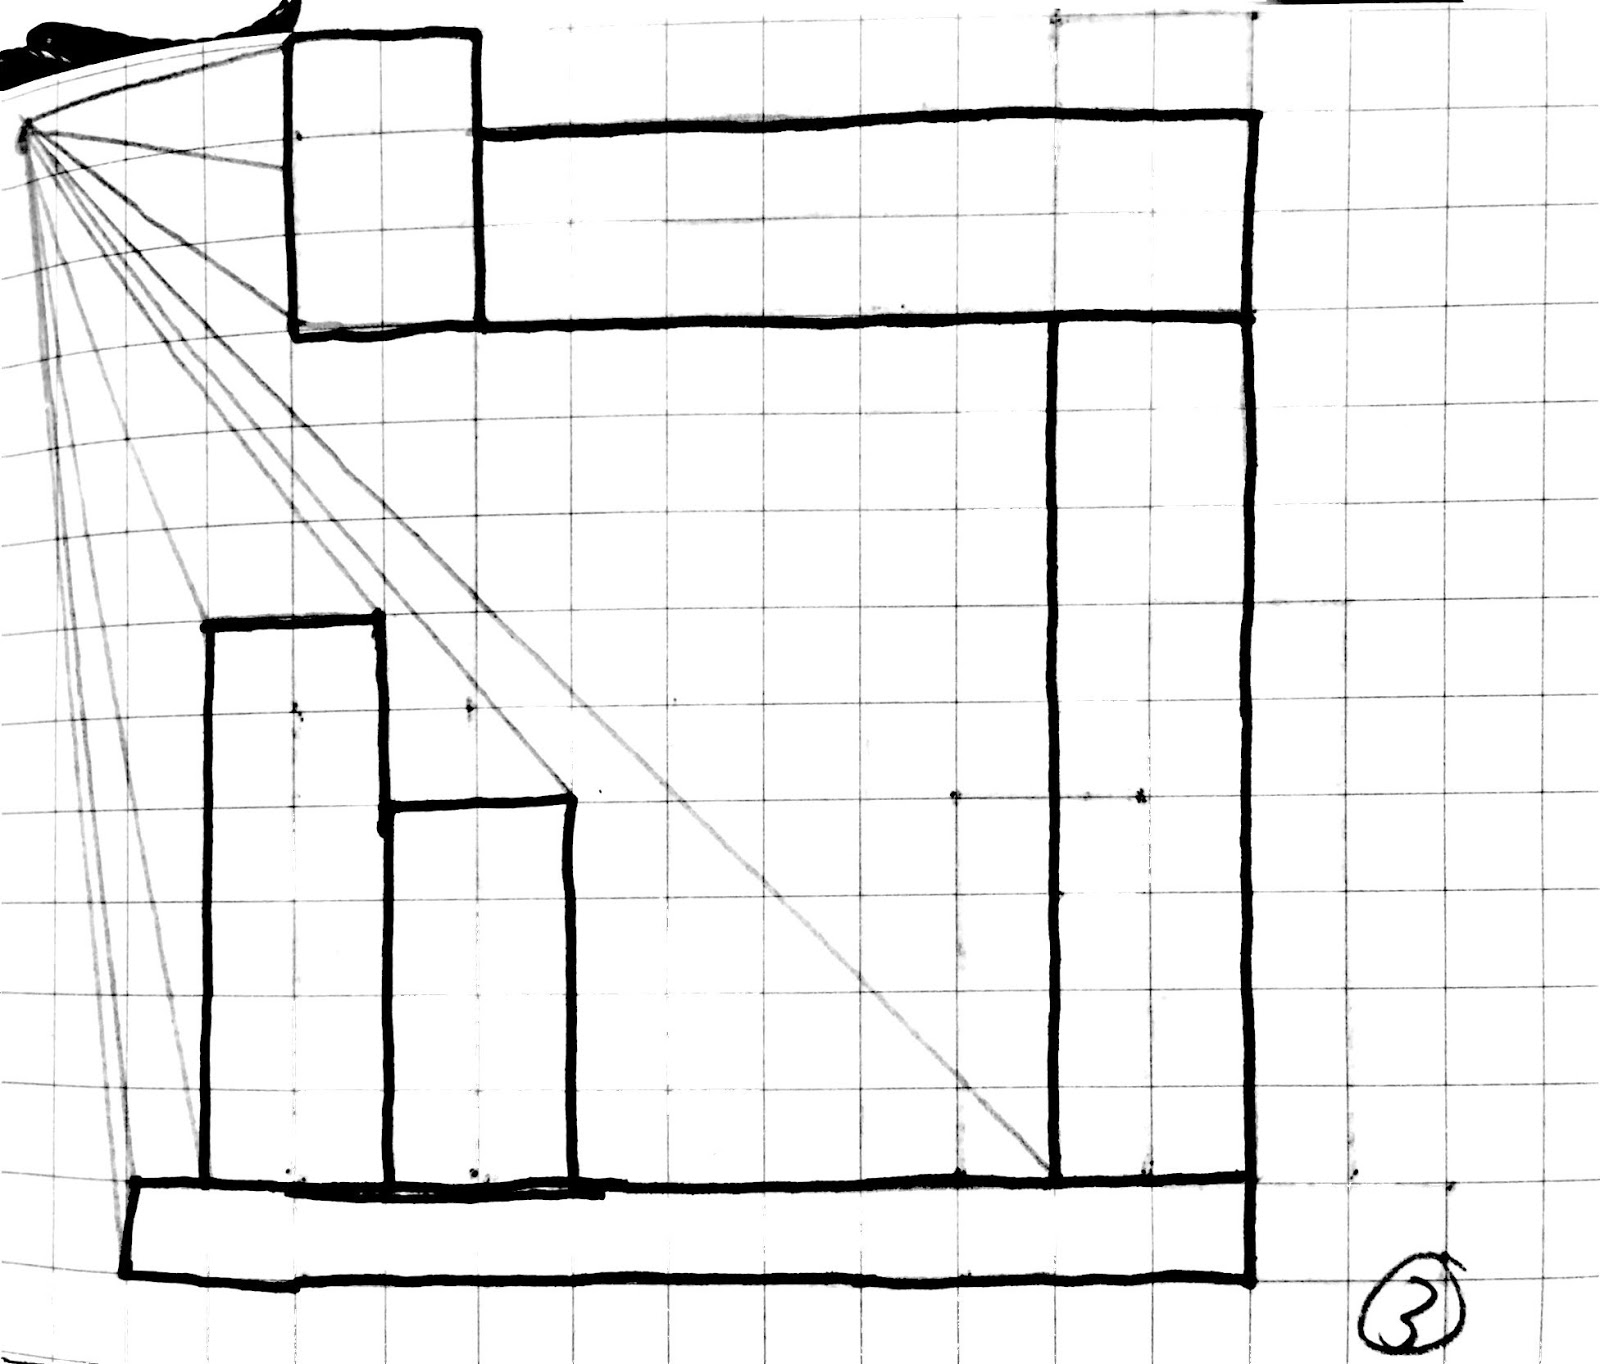
One Point Drawing 1. Eye level view of prisms.

One Point Drawing 1. Looking up at prisms.

One Point Drawing 2. Looking down on prisms.

One Point Drawing 2. Eye level view of prisms.

One Point Drawing 2. Looking up on prisms.

One Point Drawing 3. Looking down on prisms.

One Point Drawing 3. Eye level view of prisms.

One Point Drawing 3. Looking up at prisms.

One Point Drawing 4. Looking down on prisms.

One Point Drawing 4. Eye level view of prisms.

One Point Drawing 4. Looking up at prisms.

One Point Drawing 5. Looking down of prisms.

One Point Drawing 5. Looking up at prisms.

One Point Drawing 5. Eye level view of prisms.

One Point Drawing. Eye level of prisms.

One Point Drawing. Looking down on prisms.

One Point Drawing 6. Looking up on prisms.

Find three news articles referring to Architecture, Computational Design or Engineering. Create a MashUp that selects text from each of the articles and combines them in such a way as to suggest a distinctive and significant theory. Use a maximum of 250 words. Make the words from each article a different colour on your blog. Include complete references.

I chose 3 different articles that all relate to Computational Design in one way or another, 2 showing how computational design can be used within the build environment and the 3rd talking about how computational design has so many advantages.
The first talks about Computational methods will and can change your life through 3d modelling, documentation or even creating program spreadsheet, and how computers are well entrenched within the professional world nower days. It also states that computational design aims to enhance process by encoding design decisions using computer languages.
The second article explores the steel canal bridge being built in Amsterdam by robots. “This bridge will show how 3D printing finally enters the world of large-scale, functional objects and sustainable materials while allowing unprecedented freedom of form” says designer Joris Larrman. “The symbolism of the bridge is a beautiful metaphor to connect the technology of the future with the old city, in a way that brings out the best of both worlds.”

Finally, the third article explores robots within pioneering technology, by building a structure from just rocks and string. The tower is composed of stacked layers of aerated glass pebbles, with each layer measuring roughly two centimeters in height, with the pebbles being bound together by thread. The goals of the project were to create a temporary installation in which the materials could be reused, “You can take this structure down and you have the raw materials in the same state as they were used before building this structure.”

Thursday, 5 May 2016

Blog - Week 8 (Project 2)

1. Review a selection of students 'Electroliquid Aggregation' concepts:
“Why still speak of the real and the virtual, the material and immaterial? Here these categories are not in opposition, or in some metaphysical disagreement, but more in an electroliquid aggregation, enforcing each other, as in a two part adhesive.”
Lars Spuybroek, [1998] Motor Geometry, Architectural Design, Vol 68 No 5/6, p5

2. In 6x6 squares draw a series of 36 custom textures that represent the entire range from dark to light.
Custom textures 1-6

Custom textures 7-12

Custom textures 13-18

Custom textures 19-24

Custom textures 25-30

Custom textures 31-36

3. Inspired by your parallel projections at a macro scale create a series of smaller detail elements and add these to your Light Rail Stop to reinforce/supplement the electroliquid aggregation that they represent.

I used the idea from my parallel projection to create a rounded chair that is used in multiple places throughout my design (shown in the pictures below). 


Note: throughout the class pairs of students will be critiquing each others images from their Lumion environments and discussing how their second concept is, or could be, demonstrating a distinctive and significant approach to siting the Light Rail Stop. 

4. Apply a light, a medium and a dark texture to particularly significant surfaces within your Light Rail Stop. Upload the entire set of 36 textures to your blog.

Custom texture 1 (dark)

Custom texture 1 (medium)

Custom texture 1 (light)

Note: the YouTube video tutorial below demonstrates how to do this on a curving surface.

5. Continue to develop the Light Rail Stop, its siting and detail elements through to final resolution. 

6. Use 'Fraps', or similar, to capture five images from your Lumion environment and upload them to your blog. We should be able to see your custom textures in at least 3 of the images. Write short comments (40 words max!) under 3 of the images to indicate how they relate to your "ElectroLiquid Aggregation" quote.]

Dieste's "ever growing and further elevating" showed his ability to create structures from brick that seemed to grow and expand, particularly with gravity defying curves. I did not use any gravity defying techniques, but I still choose to use the hard material of concrete as my main material. The idea of "ever growing" was something that I strived to use, leaving lots of room for more to be done to the light rail stop, as well as the bridge over the road to get to the other light rail stop. 

Through Alexander's idea of "simplicity and space" has been another greatly influential idea that I used as a main theme within my work. The light rail embodying simplicity and space creates a great combination, which allows for electroliquid aggregation to occur. The ideas on their own would not be sufficient, however when they are combined it allows for a great design. Alexander's concepts complement each other due to the nature of his work. 

The use of textures (light, medium and dark) are key elements allowing walkways and facades to be highlighted and emphasised in different ways. Little details such as chairs, rams, polls and ticket machines can also have attention draw to them by applying a dark texture.

Electroliquid aggregation can be applied to the concepts of "simplicity and space" and "every growing and further elevating", as well as having a role to create surrounding, vision, and purpose for the design. The individual concepts are all good and interesting concepts other their own, however when applied together that is when a new vision, style and design concept entity can be created, envisioned and applied through designs. 

Final image 1, in Lumion, on UNSW campus

Final image 2, in Lumion, on UNSW campus

Final image 3, in Lumion, on UNSW campus

Final image 4, in Lumion, on UNSW campus

Final image 5, in Lumion, on UNSW campus

7. Upload your Lumion folder (located in your "my documents" folder) to your FileFront, Dropbox, or similar, user page and provide a link to them from your blog.

https://www.dropbox.com/s/f43dsyehmdqmykr/final_ARCH1101_5062251_HannahYeo.ls6?dl=0

8. Upload your final version of the Light Rail Stop to the SketchUp Warehouse and provide a link to it from your blog.

Monday, 25 April 2016

Blog - Week 7 (Project 2)

1. Draw a series of 3 parallel projections exploring the interconnection between pairs of your drawings from week one (make sure that each one of the pair represents a different concept). 

Recall: the EXP2 brief states "Use one of these concepts to create a light rail stop ... and ... the second concept to help situate the light rail stop within its urban context.." So it might help to think about one parallel projection being the Light Rail Stop and the other the urban environment...

Interconnection drawing 1, concept being simplicity

Interconnection drawing 2, concept being ever growing and further developing

Interconnection drawing 3, concept being unfolding and adapting

2. Draw the same set of 3 parallel projections from the opposite angle.
Interconnection drawing 1, concept being simplicity (view 2)

Interconnection drawing 2, concept being ever growing and further developing (view 2)

Interconnection drawing 3, concept being unfolding and adapting (view 2)

3. In the second set of 3 parallel projections, from step 2, imagine one of the two blocks is a structure that you use to form a 3d curving surface around (as if you were going to "subdivide and smooth" it using the Artisan Tools in SketchUp). Draw curving lines over the geometry to indicate its new form. On the geometry that remains rectilinear use carefully hatched lines to highlight one set of surfaces that exist in parallel planes. The end result is one rectilinear form interacting with one curvilinear form.

SketchUp image of parallel projection

SketchUp image of parallel projection

Note: throughout the class students will be exporting objects from SketchUp to Lumion.

4. In consultation with your tutor take one drawing created in class and use it to develop your Light Rail Stop in Lumion.

5. Use 'Fraps', or similar, to capture two images from your Lumion environment and upload them, along with the page from your sketchbook that you based it on, to your blog.

Lumion image 1 of my set of parallel projections

Lumion image 1 of my set of parallel projections

6. Rewrite the concepts relating to your chosen axonometric (step 1 above) so that the new piece of writing forms an "Electroliquid Aggregation". Recall the definition of an Electroliquid Aggregation from the lecture: “Why still speak of the real and the virtual, the material and immaterial? Here these categories are not in opposition, or in some metaphysical disagreement, but more in an electroliquid aggregation, enforcing each other, as in a two part adhesive.” Lars Spuybroek, [1998] Motor Geometry, Architectural Design, Vol 68 No 5/6, p5

Note: make sure you save the Lumion environment as you go along as it will be a part of your EXP2 submission. To back up your Lumion work you will find the files in your "My Documents" folder; for ARCH1101 you'll need to save the Library and Scenes folders in particular.

The chosen concepts I am now focusing on simplicity, explored by Chris Alexander, and also ever growing and further developing explored by Eladio Dieste. 

Tuesday, 19 April 2016

Blog - Week 6 (Project 2)

1. As a class group conduct some online research into the two Architects chosen by your tutor. The aim of this research is to collate 5 concepts (about one sentence each) relating to each of the 2 Architects. Your tutor will record the concepts on your class blog for your future reference. Take about an hour to do this step.


C. Alexander Concepts:
Emotion with pattern
- Comfort clients through architectural design
Explore and respect history in simplicity
Unfolding and adapting
-Universal comforting design
Imparting cultural memories
Contradiction between internal and external

E. Dieste Concepts:
Every growing and further developing
Form overlaps other
Movement is transformative
Every curve ends 
Space has a role


2. Divide the pages of your notebook in half. If using an iPhone like device use a full screen.

3. On the top part of each page draw a series of 6 axonometrics exploring the amalgamation of 5 rectangular prisms. Each amalgamation should reflect a concept from step 1.

The rectangular prisms should intersect with each other at right angles. Use carefully hatched lines to highlight one set of surfaces that exist in parallel planes. Some of the rectangular prisms might be 'subtracted' from the others; you do not need to use the same set of 5 rectangular prisms for your 6 drawings.

4. On the lower part of each page draw a second series of 6 axonometrics that re-draw the first series from the opposite point of view. Use carefully hatched lines to highlight one set of surfaces that exist in parallel planes.
Axonometric drawing 1

Axonometric drawing 2

Axonometric drawing 3

Axonometric drawing 4

Axonometric drawing 5

Axonometric drawing 6

Axonometric drawing 7

5. In consultation with your tutor take one pair of axonometrics created in class and construct them in 3 dimensions using SketchUp.

6. Follow the tutorial below to export your SketchUp model into Lumion.

7. Download 'Fraps' to capture two images from your Lumion environment and upload them, along with the page from your sketchbook that you based it on, to your blog.

Original axonometrical drawing idea, uses concept of form over lapping

Lumion picture 1

Lumion picture 2

Lumion picture 3